
What Happens During an Asbestos Inspection?
If you’re planning a renovation, buying an older home, or dealing with a suspicious-looking material in your attic, you may have been told: “You should get an asbestos inspection.”
That sounds simple enough… until you realize you’re not quite sure what actually happens during one. Do inspectors tear open your walls? Does your home become a construction zone? Do you need to move out?
Don’t worry, an asbestos inspection is usually straightforward, minimally invasive, and much less dramatic than most people expect. In this guide, we’ll walk through the entire process in a conversational, easy-to-understand way so you know exactly what to expect from start to finish.
Why Asbestos Inspections Exist in the First Place
Before diving into the step-by-step process, it helps to understand why asbestos inspections are even necessary.
Asbestos was widely used in building materials from the early 1900s up until the 1980s. It was cheap, fire-resistant, insanely durable and unfortunately, dangerous when its fibers become airborne. Disturbing asbestos-containing materials (ACMs) during renovation, demolition, or even regular wear and tear can release microscopic fibers that are linked to serious health risks, including lung cancer and mesothelioma.
Because asbestos is not easy to identify by sight, a certified professional is needed to inspect and, if necessary, collect samples for laboratory testing. The goal is simple: determine whether asbestos is present, assess its condition, and help you decide what to do next.
So, What Exactly Happens During an Asbestos Inspection?
Let’s walk through the process step-by-step.
1. Initial Consultation: The “What’s Going On?” Conversation
Every inspection begins with a conversation, either by phone or at the property.
The inspector will ask questions like:
- Why are you requesting an inspection? (Renovation? Purchase? Damage?)
- What year was the property built?
- Have any materials been disturbed or removed already?
- Are there specific areas you’re concerned about?
This helps the inspector prepare for what they might find. For example, a home built before 1980 is much more likely to contain asbestos in things like flooring, insulation, drywall compound, and roofing products.
It’s also a good chance for you to ask questions:
- How long will the inspection take?
- How many samples are typically needed?
- What are the costs?
2. Visual Walkthrough: The Inspector Takes a Tour
Next comes the on-site walkthrough. This part is similar to a home inspection, except the focus is on materials that could contain asbestos.
The inspector will look at:
Common interior suspects:
- Popcorn ceilings
- Vinyl floor tiles
- Drywall and joint compound
- Plaster
- Insulation around pipes or boilers
- Old HVAC duct tape
- Ceiling tiles
- Adhesives and mastics
Common exterior suspects:
- Siding shingles
- Roofing materials
- Exterior wall panels
- Cement pipes
Don’t be surprised if the inspector shines a flashlight into odd corners, crawlspaces, or attic areas. They’re simply trying to locate materials historically known to contain asbestos.
The walkthrough is non-invasive, nothing is drilled, cut, or damaged at this point.
3. Risk Assessment: The Inspector Decides What Needs Testing
After the visual tour, the inspector determines which areas actually need sampling.
They look at two main factors:
- Likelihood of asbestos
Materials installed before the mid-1980s often raise flags. Some clues are clear, like old 9×9 floor tiles (a common asbestos product). Others require more investigation.
- Condition of the material
If a material is damaged, crumbling, or flaking, it’s higher priority because it has a greater potential to release fibers.
Not every suspicious material needs to be tested and not every test requires multiple samples. A good inspector will take the minimum number of samples needed to accurately confirm whether asbestos is present.
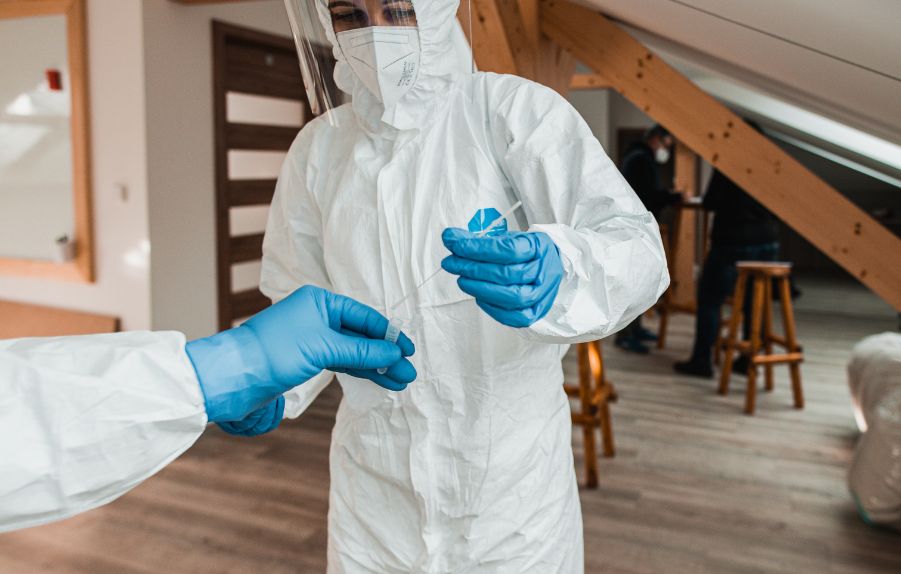
4. Sample Collection: The Part Everyone Worries About
This is the step that makes homeowners nervous, but surprisingly, it’s usually quick and controlled.
Here’s how sampling works:
- The inspector preps the area, they’ll lay down a small drop cloth, wear protective gear, and mist the material with water to prevent dust.
- A small sample is carefully removed, think of something the size of a quarter, sometimes even smaller.
- The area is sealed, the inspector immediately covers the site with a patch or sealant so it doesn’t release fibers.
- The sample goes into an airtight container labeled for the lab.
It’s normal for a standard home inspection to include anywhere from 3 to 10 samples, depending on how many materials are suspicious.
Will this create a mess or dust?
No. The process is designed to be controlled, damp, and low-impact. You definitely won’t end up with walls torn open or debris everywhere.
5. Lab Testing: Where the Real Answers Come From
After samples are collected, they’re sent to a NATA-accredited lab in Australia for analysis. Most labs use Polarised Light Microscopy (PLM) to identify asbestos fibres, it’s fast, accurate, and the standard method for testing building materials here.
If fibres are very fine or hard to detect, labs may use SEM or TEM for extra precision.
Typical turnaround times in Australia:
- 2–5 business days (standard)
- Same-day or 24-hour (rush, extra fee)
Your lab report will confirm whether asbestos is present, what type it is, and the percentage found.
Even a small percentage (like 1–2%) may require specific handling during renovations.
6. Inspection Report: Your Roadmap Forward
When the lab results are back, the inspector compiles a detailed written report. This is your official documentation and it’s important to keep if you’re selling, renovating, or dealing with insurance claims.
A typical report includes:
- A list of all areas inspected
- A map or description of sampling locations
- Lab results and asbestos percentages
- The condition of each material
- Recommendations for next steps
The recommendations might include:
- Leave it alone (if the material is intact and safe)
- Monitor it periodically
- Repair it
- Remove it professionally if you’re planning renovation or it’s in poor condition
The inspector may also walk you through the findings verbally to ensure you understand what’s urgent, what’s safe, and what’s optional.
7. Next Steps: What Happens After an Asbestos Inspection?
Once you’ve received your results, you can decide how to proceed.
If no asbestos is found:
You’re free to renovate or work on the area without worry.
If asbestos is found:
You have several options, removal isn’t always required. Sometimes encapsulating the material (sealing it) is enough, especially if it’s intact and undisturbed.
However, if your project involves cutting, demolishing, sanding, drilling, or tearing out the material, then professional asbestos abatement is required by law in most regions.
Your inspector can often recommend qualified abatement contractors if needed.
How Long Does the Whole Inspection Take?
For most homes, the on-site inspection takes 1 to 2 hours. Larger commercial buildings can take longer. The full process including lab testing, typically spans 3 to 7 days, depending on lab turnaround.
Do You Need to Leave the Home During the Inspection?
Almost always, no. The sampling process is controlled and low-risk. You can stay in the home, though most inspectors prefer you wait in another room while samples are taken.
How Much Does an Asbestos Inspection Cost?
While prices vary by region, a typical residential inspection ranges from:
- $250 to $700 for basic home inspections
- $25 to $75 per sample for lab testing
Large or complex buildings may cost more.
Is an Asbestos Inspection Worth It?
Absolutely and for a few reasons:
- It protects your health during renovations.
- It helps you avoid legal issues or stop-work orders.
- It can prevent unexpected renovation delays.
- It provides peace of mind.
If your home was built before 1990 and you plan to remodel, an asbestos inspection is a smart (and often legally required) first step.
Final Thoughts
An asbestos inspection isn’t scary, disruptive, or complicated. It’s a straightforward process designed to keep you, your family, and your property safe. From the initial walkthrough to lab results and recommendations, the goal is simply to uncover the facts so you can move forward with confidence.
Whether you’re planning a renovation or just want peace of mind, knowing what to expect during an inspection makes the whole experience much easier.
And if you’re in Brisbane and looking for a trusted, professional asbestos inspection, contact us today—we’re here to help.