
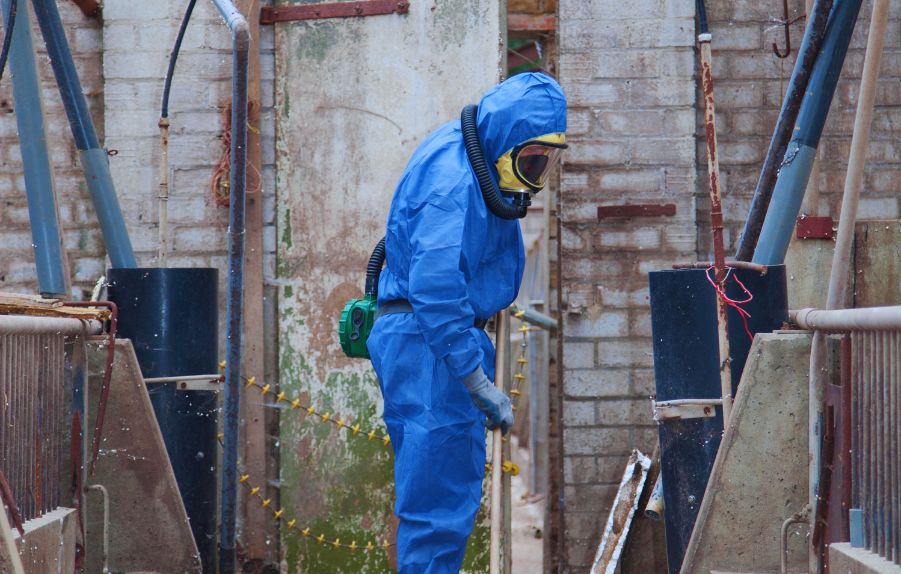
What to Expect During Asbestos Inspection in Brisbane
Asbestos remains a significant concern for Brisbane homeowners, property investors, and business owners, especially given the large number of local buildings constructed before the 1990s when asbestos materials were widely used. Although asbestos is safe when left undisturbed, it becomes dangerous when fibres are released into the air. A professional asbestos inspection is the safest and most reliable way to confirm whether your property contains asbestos and determine what steps to take next.
If you’re preparing for your first asbestos inspection, knowing what to expect can help you feel confident and informed throughout the process. Below, we break down the entire inspection journey, from the moment you book the service to what happens after the report is delivered.
Why Asbestos Inspections Are Essential in Brisbane
Brisbane’s property landscape includes many homes built during the peak asbestos-use decades, typically between the 1940s and late 1980s. Even though asbestos was banned in Australia in 2003, thousands of older residential and commercial buildings still contain asbestos-containing materials (ACMs).
Common places asbestos may be found include:
- Roofing and eaves
- Vinyl flooring and adhesives
- Sheeting in bathrooms, laundries, and kitchens
- Fences, sheds, and garages
- Insulation around pipes and hot-water systems
- Textured coatings and wall linings
As a result, Queensland regulations strongly recommend asbestos inspections before renovations, demolition, or purchasing older properties. A licensed inspection ensures you avoid accidental exposure and remain compliant with workplace health and safety laws.
Step 1: Booking the Inspection
The process begins with scheduling your inspection with a licensed asbestos assessor. In Queensland, only Class A or Class B licensed professionals are authorised to identify, sample, and manage asbestos. During your initial call, you’ll typically be asked:
- The age of the property
- The type of building (residential, commercial, industrial)
- Whether you are renovating, selling, or managing compliance
- Any known areas of concern
The assessor will then arrange a suitable inspection time, often within a few days, depending on urgency.
Step 2: Pre-Inspection Preparation
Most inspections require minimal preparation on your part. However, here are a few things you may be asked to do:
- Provide access to all areas of the property, including attics, subfloors, garages, and fences.
- Secure pets so the inspector can work safely.
- Share renovation plans or property history, if available.
You do not need to move furniture or attempt to uncover suspected materials. Professionals are trained to work safely and avoid unnecessary disturbance.
Step 3: On-Site Assessment and Visual Inspection
Once the assessor arrives, they will conduct a thorough walk-through of the property. This stage involves:
1. Identifying Potential Asbestos Materials
The inspector looks for signs of common asbestos-containing products, including:
- Fibro sheeting
- Vinyl tiles
- Cement pipes
- Backing boards in switchboards
- Roof panels
Their trained eye can spot materials that may go unnoticed by homeowners.
2. Assessing Condition and Risk
Even if asbestos is present, the level of risk varies. Materials may be:
- Non-friable (bonded) – low risk unless cut or damaged
- Friable – high risk, easily crumbles and releases fibres
The assessor will note whether the material is deteriorated, cracked, water-damaged, or likely to be disturbed during future work.
3. Taking Photographs and Notes
Throughout the inspection, detailed notes and photographs are taken to include in the final report for reference and compliance.
Step 4: Sampling and Laboratory Testing
If the assessor identifies suspicious materials, they may recommend sampling. This involves safely removing a small portion of the material and sealing it to prevent fibre release. Sampling is performed using strict safety protocols, including PPE and containment measures.
Why Sampling Matters: Visual inspection alone cannot confirm asbestos. Only NATA-accredited laboratory testing can provide definitive results.
What to Expect
- The process takes only a few minutes per sample.
- Damage to the material is minimal and repaired afterward.
- Results are typically available within 24–72 hours, depending on lab processing times.
If you prefer, the assessor may conduct a no-disturbance inspection, meaning no samples are taken. However, this will result in presumed asbestos rather than confirmed asbestos, something important to keep in mind for compliance and renovation planning.
Step 5: Receiving the Asbestos Report
After the inspection and lab results, you’ll receive a comprehensive asbestos report. This is one of the most important parts of the process because it becomes the basis for any future management or removal work.
A typical asbestos report includes:
- A summary of findings
- Lab test results
- Photos of all inspected areas
- Locations of confirmed or presumed asbestos
- The condition and risk level of each material
- Recommendations for removal, encapsulation, or monitoring
- Compliance notes relevant to Queensland regulations
For workplaces, this report often serves as the foundation for an Asbestos Register, which is legally required for buildings constructed before 2004.
Step 6: Post-Inspection Recommendations
Based on the report, the inspector may recommend one or more of the following actions:
- Removal by a Licensed Contractor: Required when materials are friable, deteriorated, or likely to be disturbed during planned renovations.
- Encapsulation or Sealing: Safe when asbestos is in good condition and unlikely to be disturbed.
- Ongoing Monitoring: For low-risk materials that can remain in place but need periodic checking.
- Pre-Renovation or Pre-Demolition Planning: If you’re renovating, the inspector may suggest a full asbestos removal plan before construction begins.
They will also advise on your legal obligations under Queensland WHS laws, ensuring you remain compliant whether you’re a homeowner, landlord, or business operator.
How Long Does an Asbestos Inspection Take?
However, it’s important to remember that the total turnaround time also includes laboratory testing for any samples taken during the inspection. While the on-site assessment may only take a couple of hours, lab results typically take 24–72 hours to process. This means the full inspection and reporting timeline can span several days, especially if multiple samples need testing.
How Much Does a Professional Asbestos Inspection Cost?
While costs vary, typical Brisbane inspection pricing factors include:
- Type and size of the property
- Number of samples required
- Whether the inspection is for compliance, renovation, or purchase
Most homeowners find the investment worthwhile given the health risks and legal responsibilities involved.
Final Thoughts
A professional asbestos inspection in Brisbane is a critical step for anyone planning renovations, purchasing an older property, or maintaining workplace safety. The process is thorough, regulated, and designed to protect your health by identifying asbestos safely and accurately.
Understanding what to expect, from booking the inspection to receiving the final report, helps you stay prepared and informed. With a licensed assessor on your side, you can make confident decisions about managing or removing asbestos and ensure your property remains safe for everyone who uses it.